
BIGGEST LOSER: How to protect your back when training your core
BY SUSAN ABDELNOR
FLORENCE, S.C. – As a fitness professional, my certifications require attending yearly fitness conferences. I have seen many exercise trends come and go. What once was thought to be safe and effective turned out to be physiologically harmful.
For years, constant forward flexion of the spine (the movement made when you perform crunches) was thought to be the best way to strengthen the abdominals. However, it has since been found to be harmful for the back.
We now know that training the “core” by using whole body exercises is not only more beneficial but also can prevent low back problems as we get older. Additionally, by strengthening the core muscles, one also will create a stronger foundation to support the spine, increase ease of movement and decrease pain associated with a weak core.
Even if you use whole-body exercises, you need to take several steps to ensure that your back is protected from harm before starting a core strengthening program. The first step is to learn what your neutral spine alignment is and what it feels like.
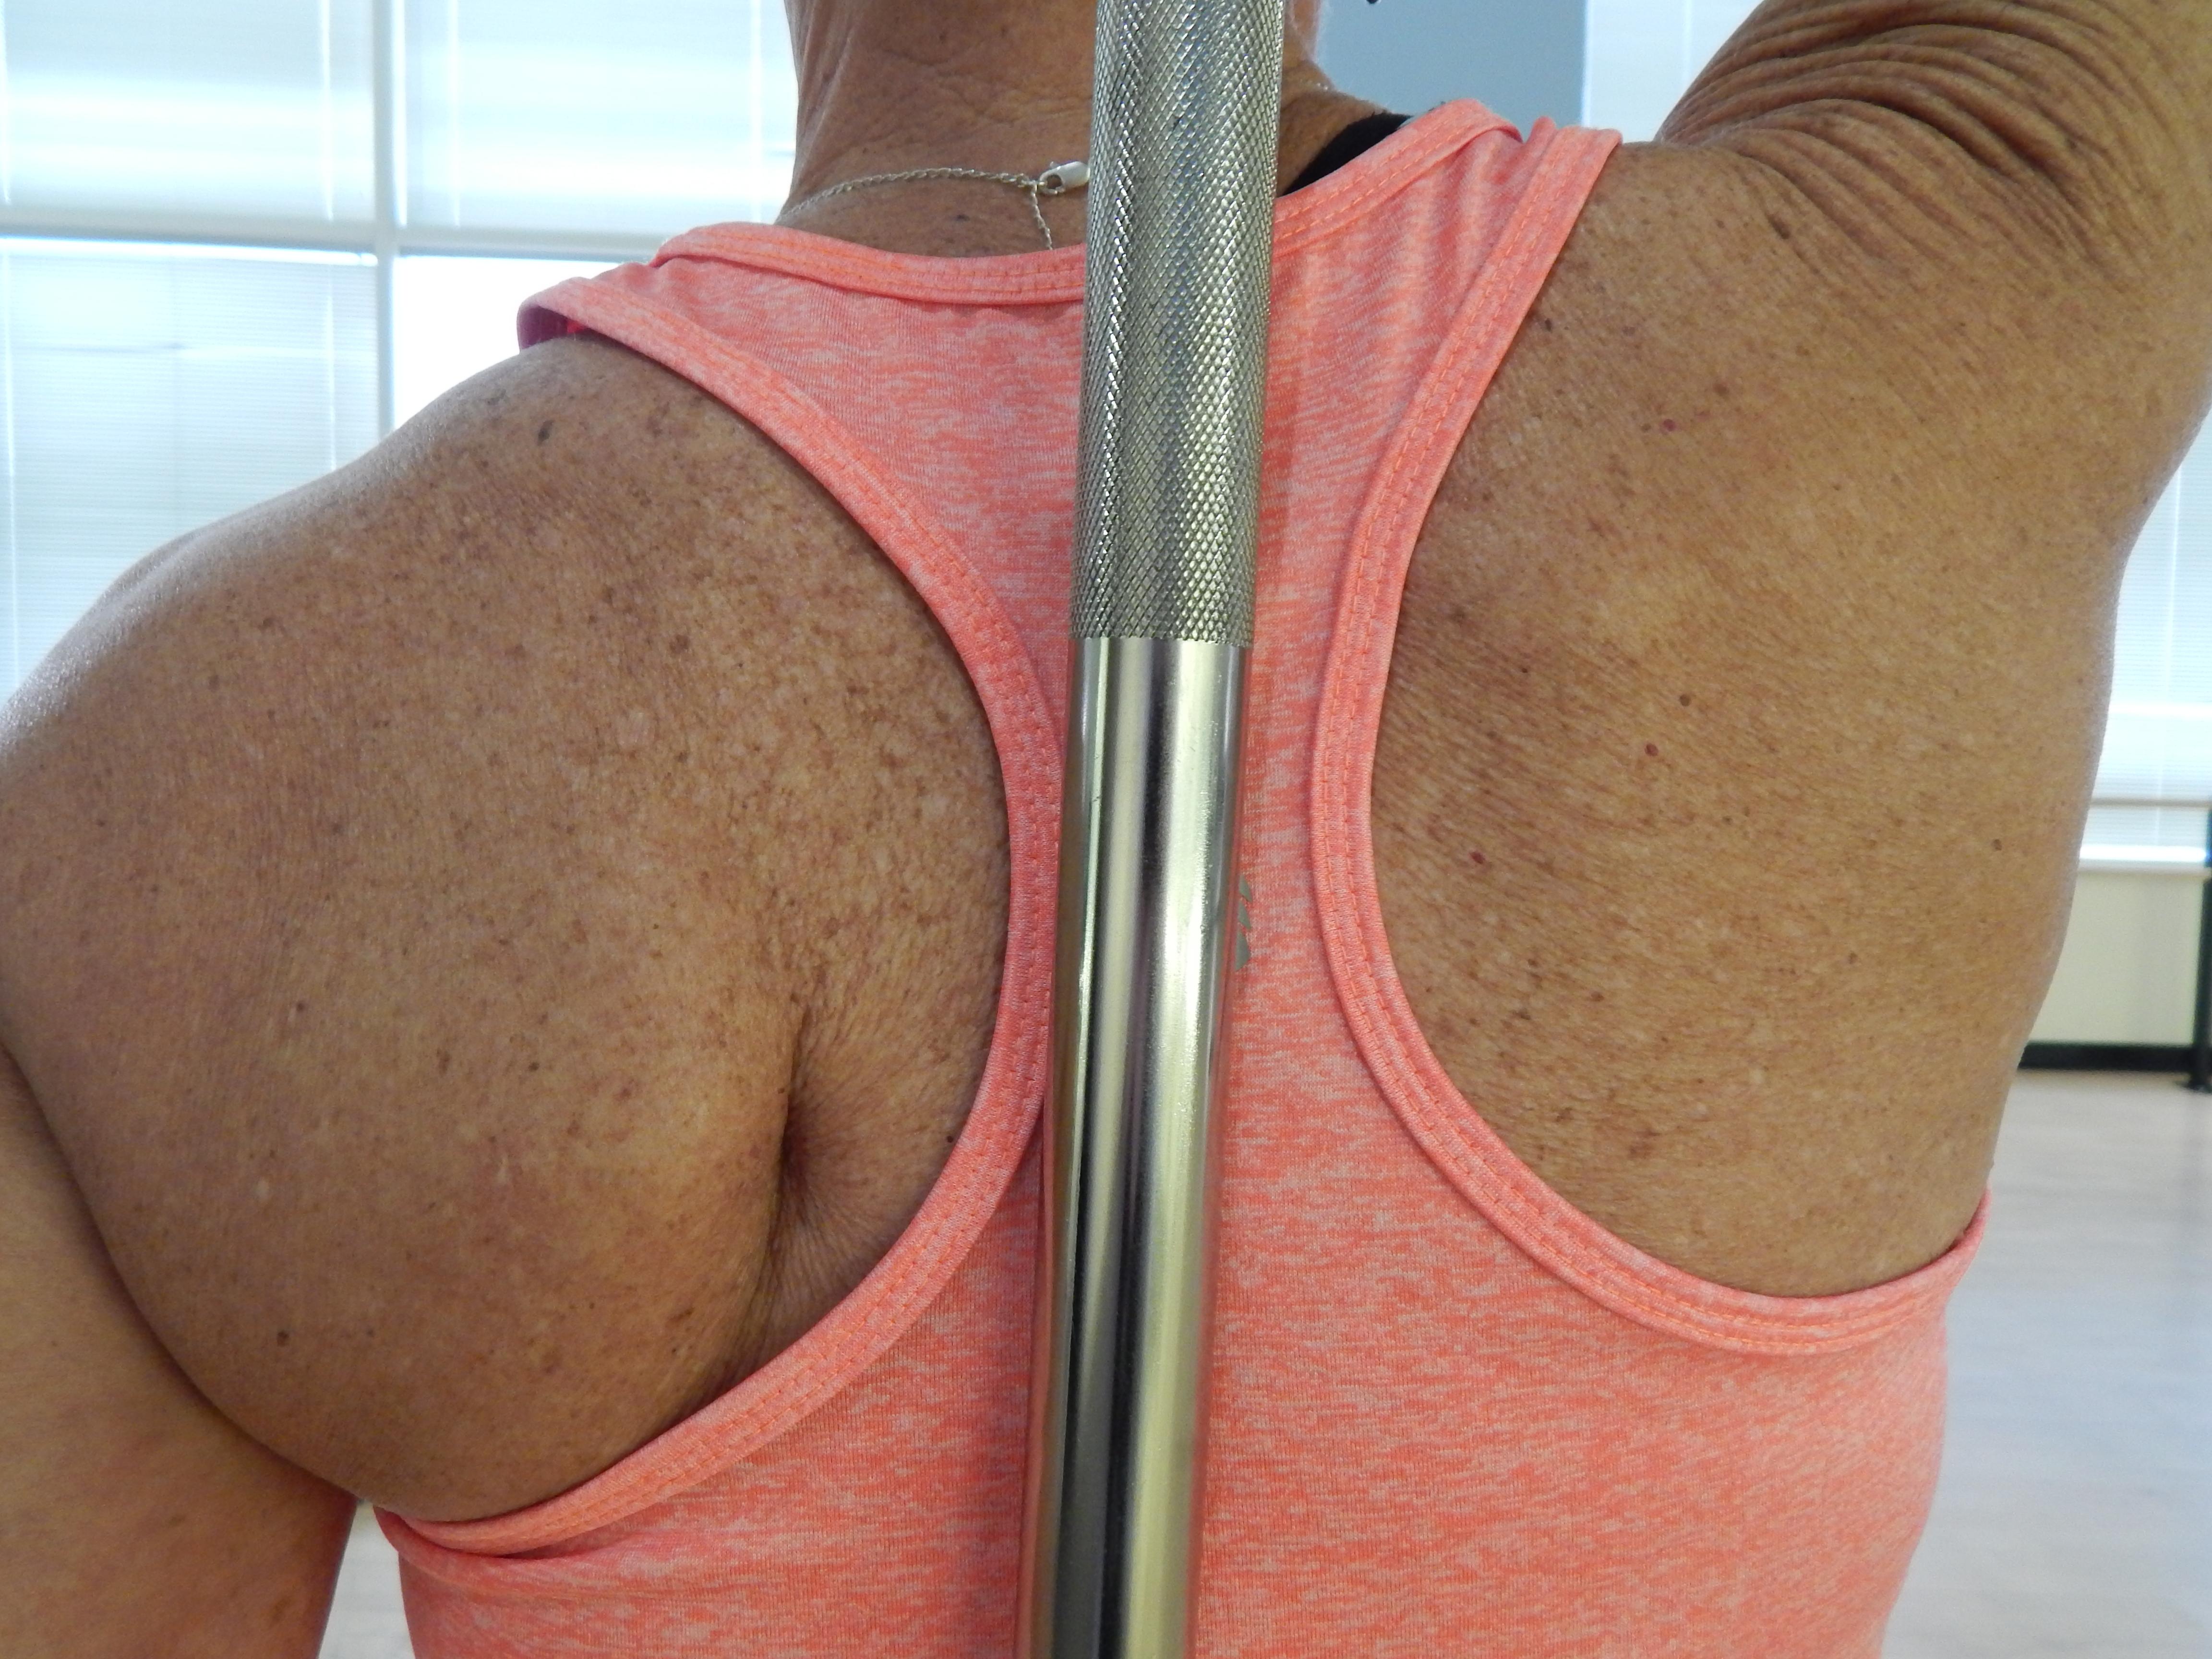
In the spine, there are three natural curves when the back is neutral: the cervical (neck), the thoracic (middle back) and the lumbar (lower back). To feel these curves and what a neutral spine feels like, you can use a plumb line such as a broomstick or a straight fitness bar. Take the plumb line in both hands and hold one end against the back of your head and the other end against your tailbone. The three curves should be flush against the bar while allowing the small of your back to naturally pull away.
This is how your spine should be aligned while performing any whole-body exercises for core strengthening. An example of a pose you would need neutral spine alignment for would be the plank. By keeping your spine in neutral alignment during a plank, you will challenge your deep torso muscles and strengthen the core.
The second step is finding your neutral pelvis. One way to find your neutral pelvis is to lie on your back on a flat surface with your knees bent and feet flat. From there, start to tilt your pelvis back and forth by rounding your low back and then arching your low back in an exaggerated movement. Start to gradually decrease this movement until you settle into a middle ground.
The muscle responsible for keeping the pelvis stabilized naturally is a deep abdominal muscle known as the transverse abdominis. By strengthening this muscle, you can decrease your risk of low back pain caused when the pelvis tilts and becomes un-stabilized.
One effective way to learn how to engage this muscle is to lie on your back just like you did when you were finding your neutral pelvis. Then, take a small towel, roll it up and place it under the small of your back. The towel should just fill the natural hollowed-out area of your low back. Begin to gently press the low back toward the towel by drawing your navel to your spine without flattening the towel.
A deep abdominal exercise that requires a neutral pelvis and engaging the transverse abdominis is the “dying bug.” You can perform this exercise by lying on your back and bringing your knees over your hips and your arms straight toward the ceiling. Then, lower your opposite arm and leg toward the floor and back up to challenge the deep stabilizing muscles of the abdomen.
Abdominal bracing is the third step toward your core strengthening program. To engage the abdominal muscles needed to brace, find an elastic band with handles and tie one end to a stable surface (such as a door knob on a closed door). Grab the other handle in both hands and walk out enough to where the band is not tight but also not hanging.
Turn your body to the side so the right side of your body is facing the attached point. Extend your arms in front of your chest while still holding the handle in both hands. Keep a soft bend in the knees, and make sure you have a neutral spine before rotating your torso to the left at the waist to pull the band away from the midline of the body. By rotating at the waist and keeping the hips from moving, you are forcing the deep abdominal muscles in the torso to engage and do the work.
Susan Abdelnor holds an exercise physiologist certification with ACSM and her CPT through AFAA. She started with the McLeod Health & Fitness Center in 1998 as a full-time personal trainer and group fitness instructor. In August of 2016, she accepted the position of personal training manager. She not only enjoys helping develop the personal training department but also in helping new personal trainers develop their careers.